


DIY "Thank You" cards
- Alisa Sibrova
- Mar 28, 2016
- 1 min read
Let's face it, if you sew and when you sew - everyone around you knows that. I plead guilty! I, personally can't help myself to keep quiet when I have made something new! That being said, everyone knows that a needle and a thread in your hands is like magic in Harry Potter movies, so why not try your hand at and impress everyone with these lovely DIY "Thank You" cards?
Time: about 15 minutes per one
Skills: novice
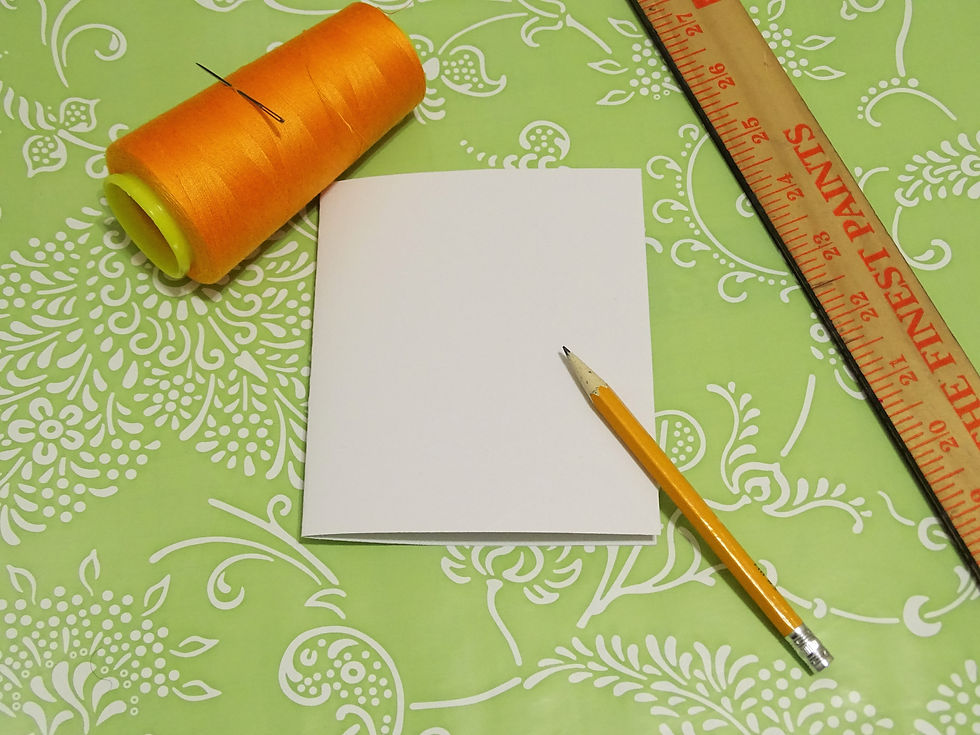
Materials: card stock, thick needle, thread of desired color, pencil and eraser
Use: can be "Thank You cards", Valentine's Day cards and Mother's day cards
Follow step by step instructions below!

HOW:
1. Get your tools ready: card stock, needle, thread, ruler.
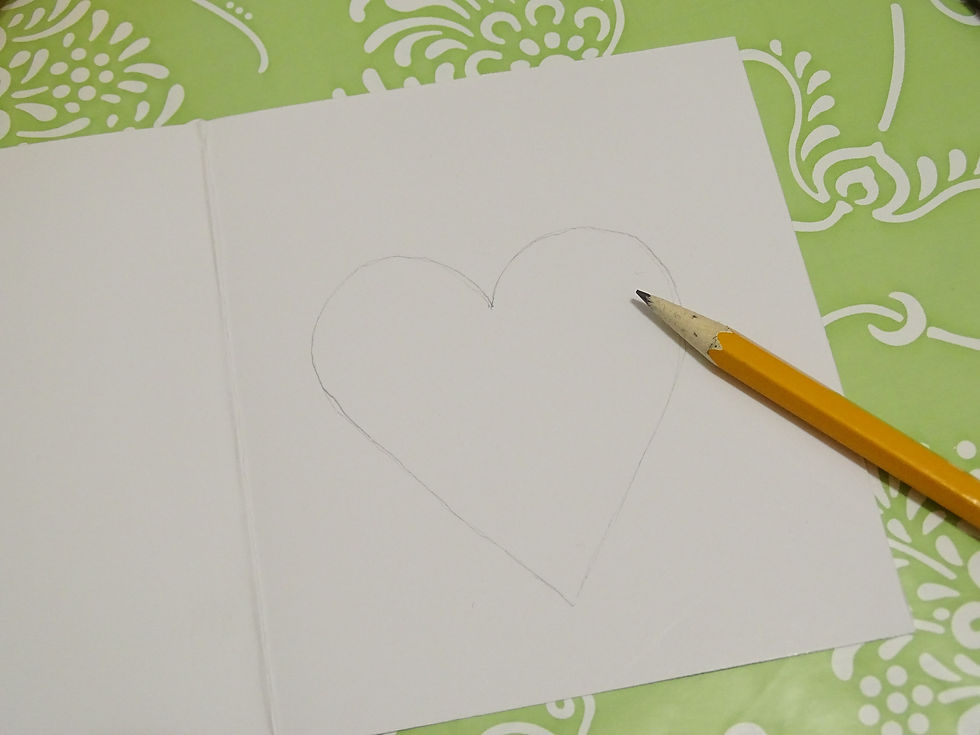
2. Draw a heart or any other desired shape for your card.
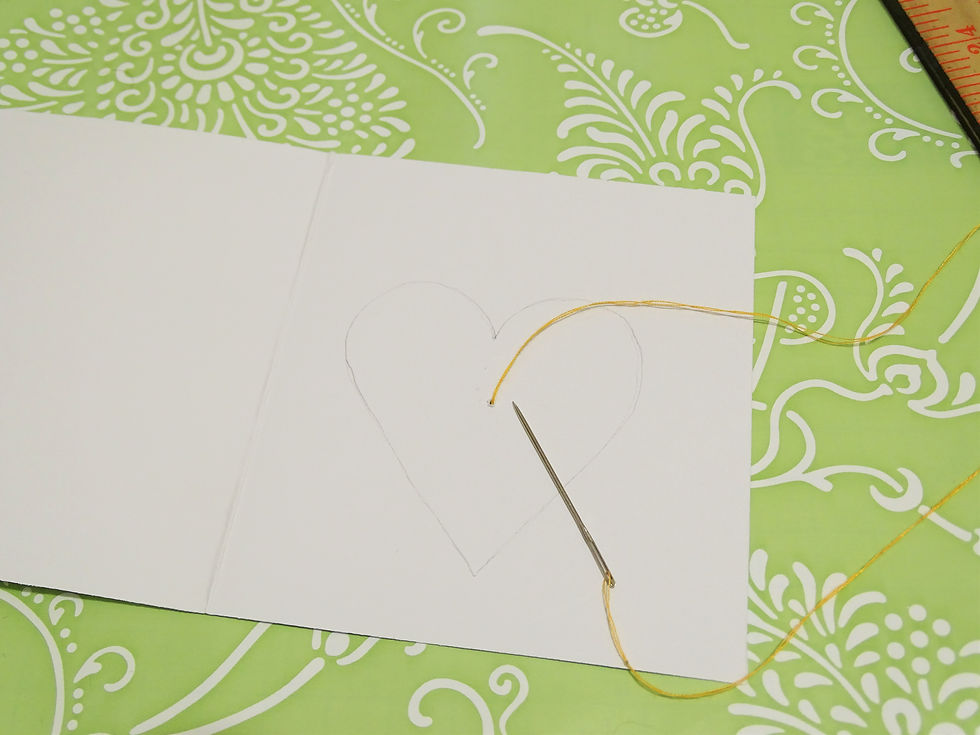
3. Thread your needle with desired color and start in the middle.
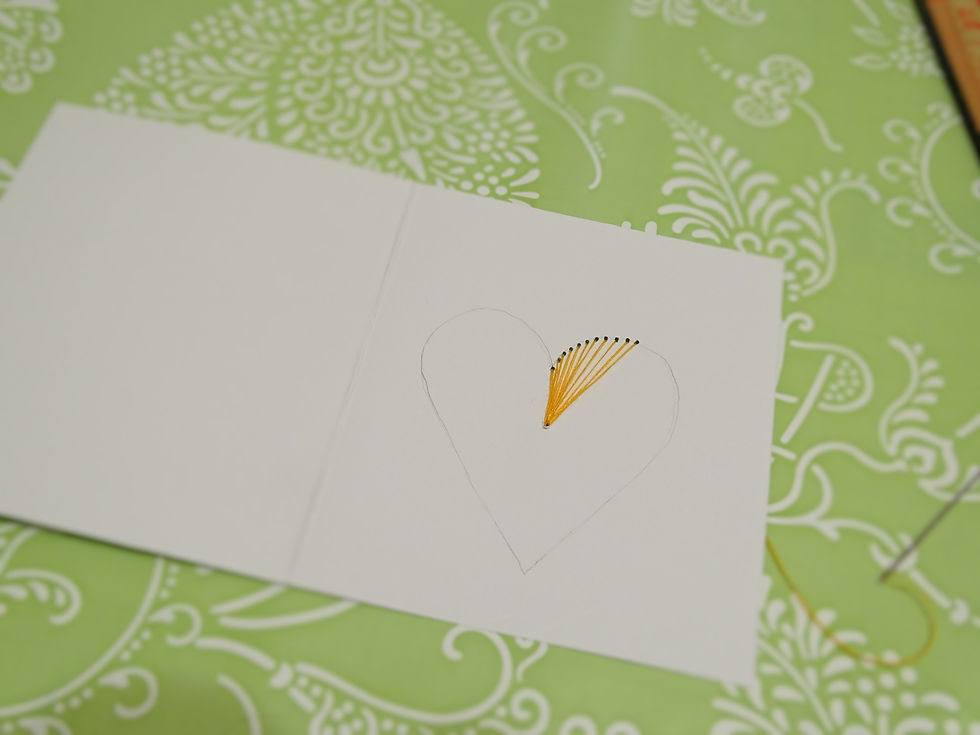
4. Continue with your ornament like this.
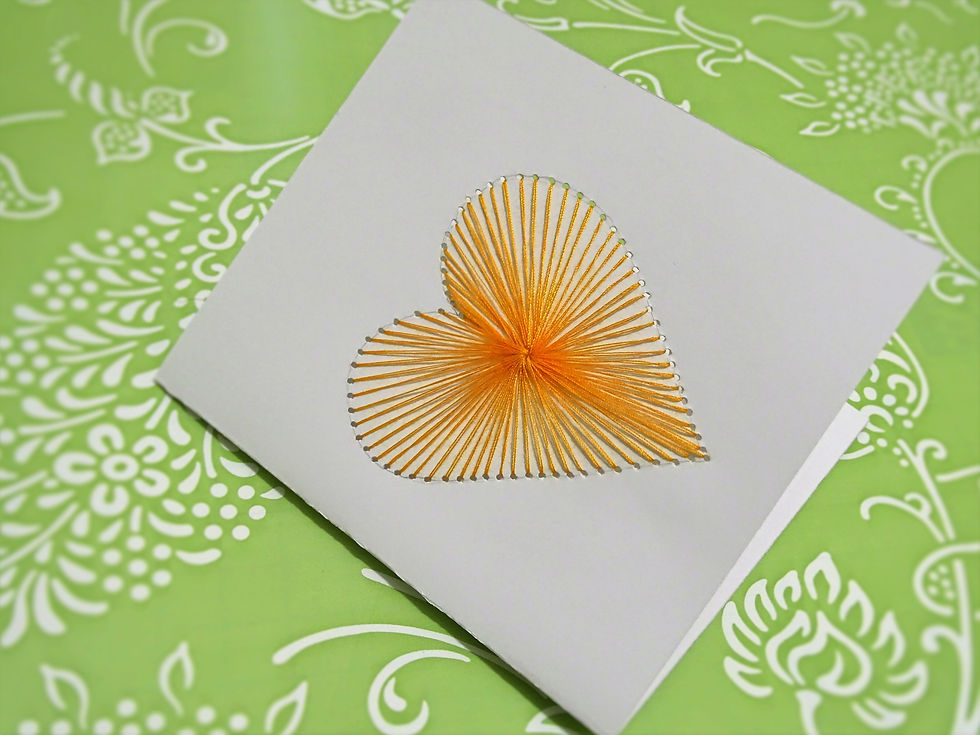
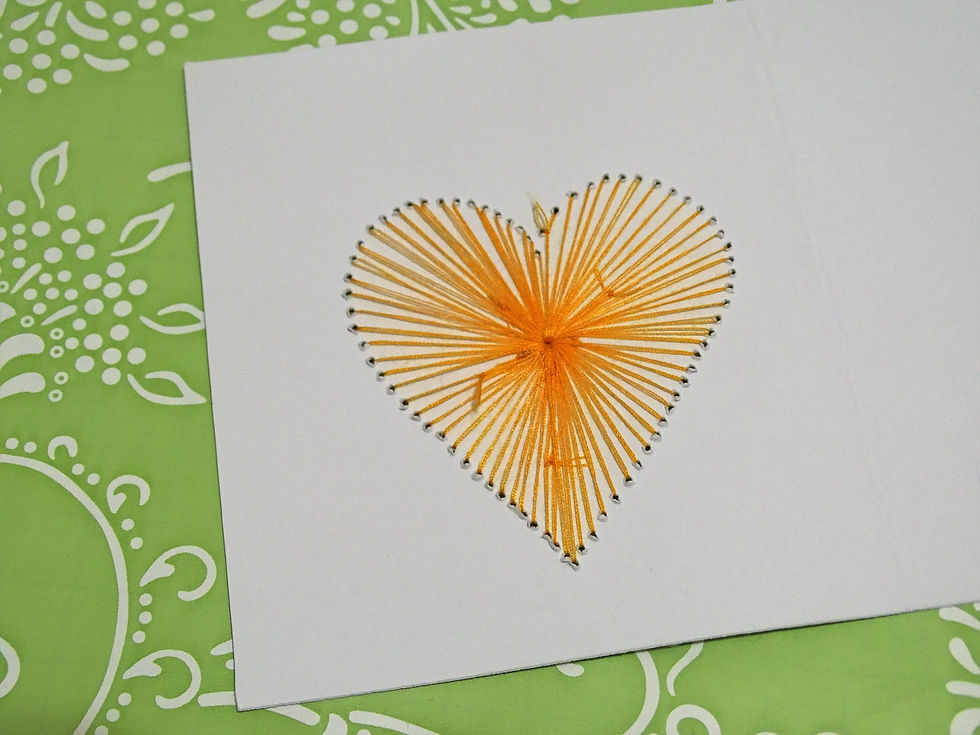
5. Once you have completed the whole shape - result will be like this.
6. I decided to not to cover up reverse side of it. To my taste it looks neat enough. If you do wish to cover - use a panel of thin paper and glue to do so.
7. Use ink pens or sharpies to write a message of your choice and "Ta da!"

Comments